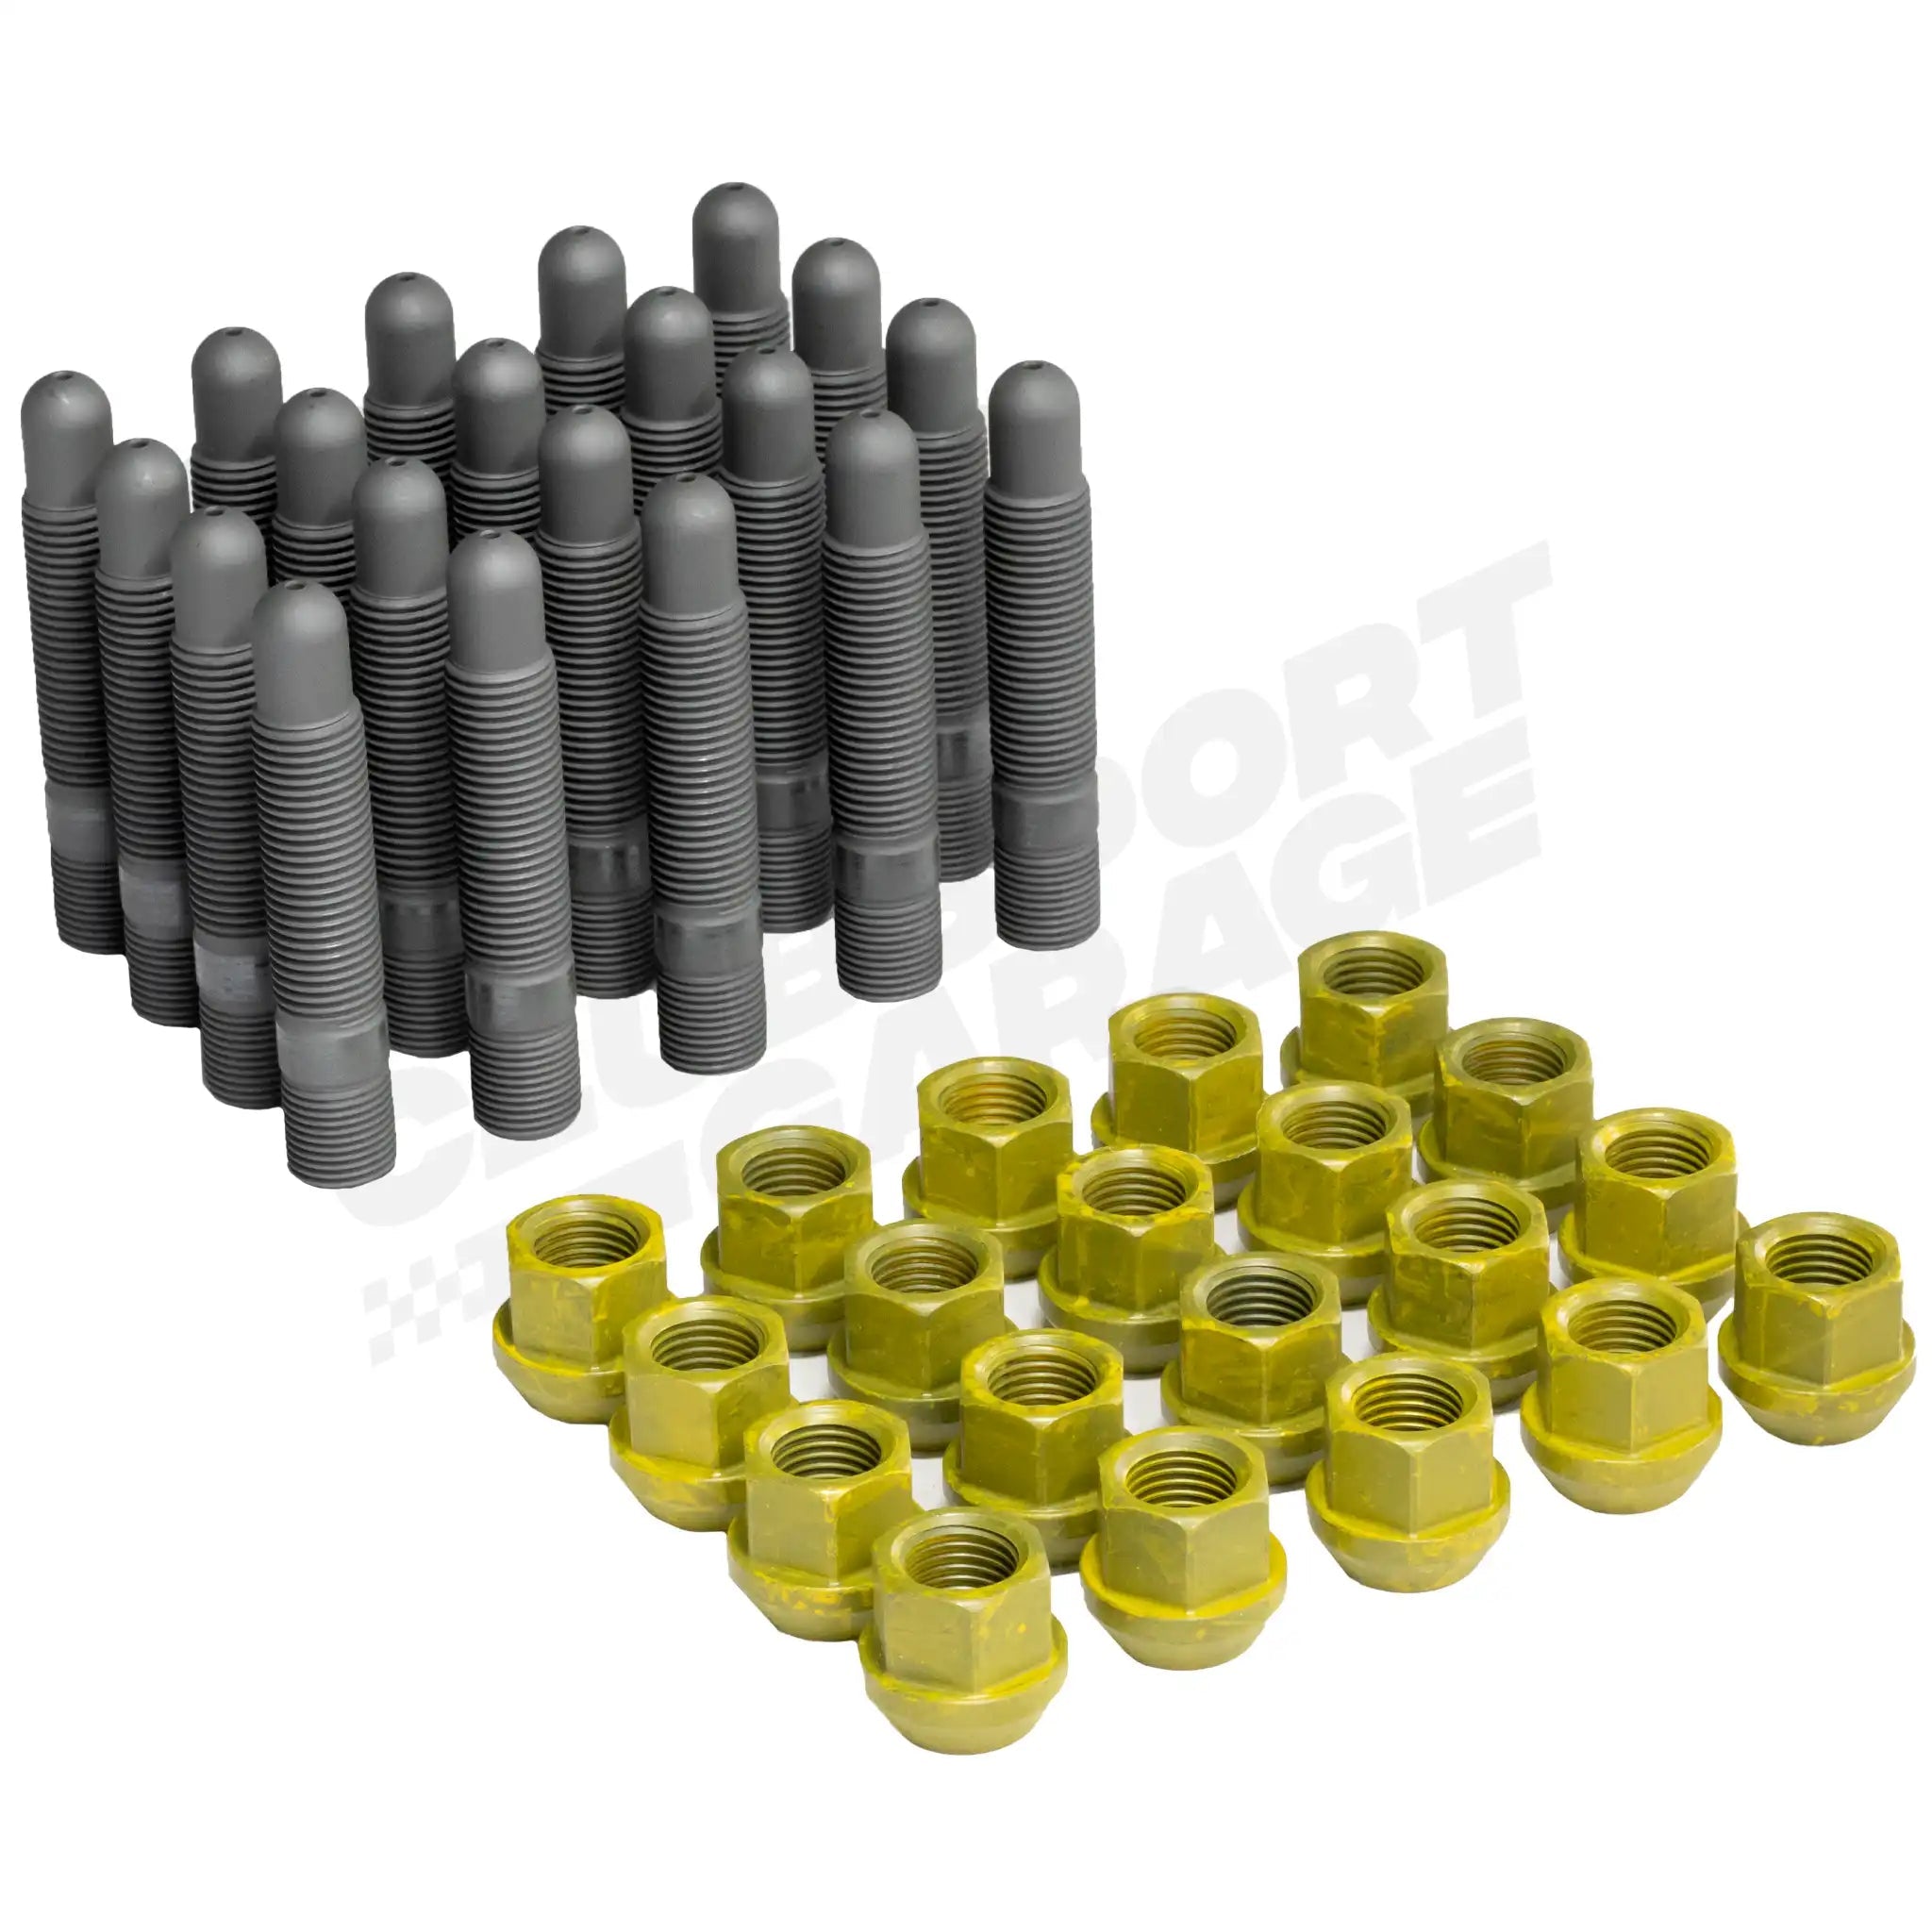
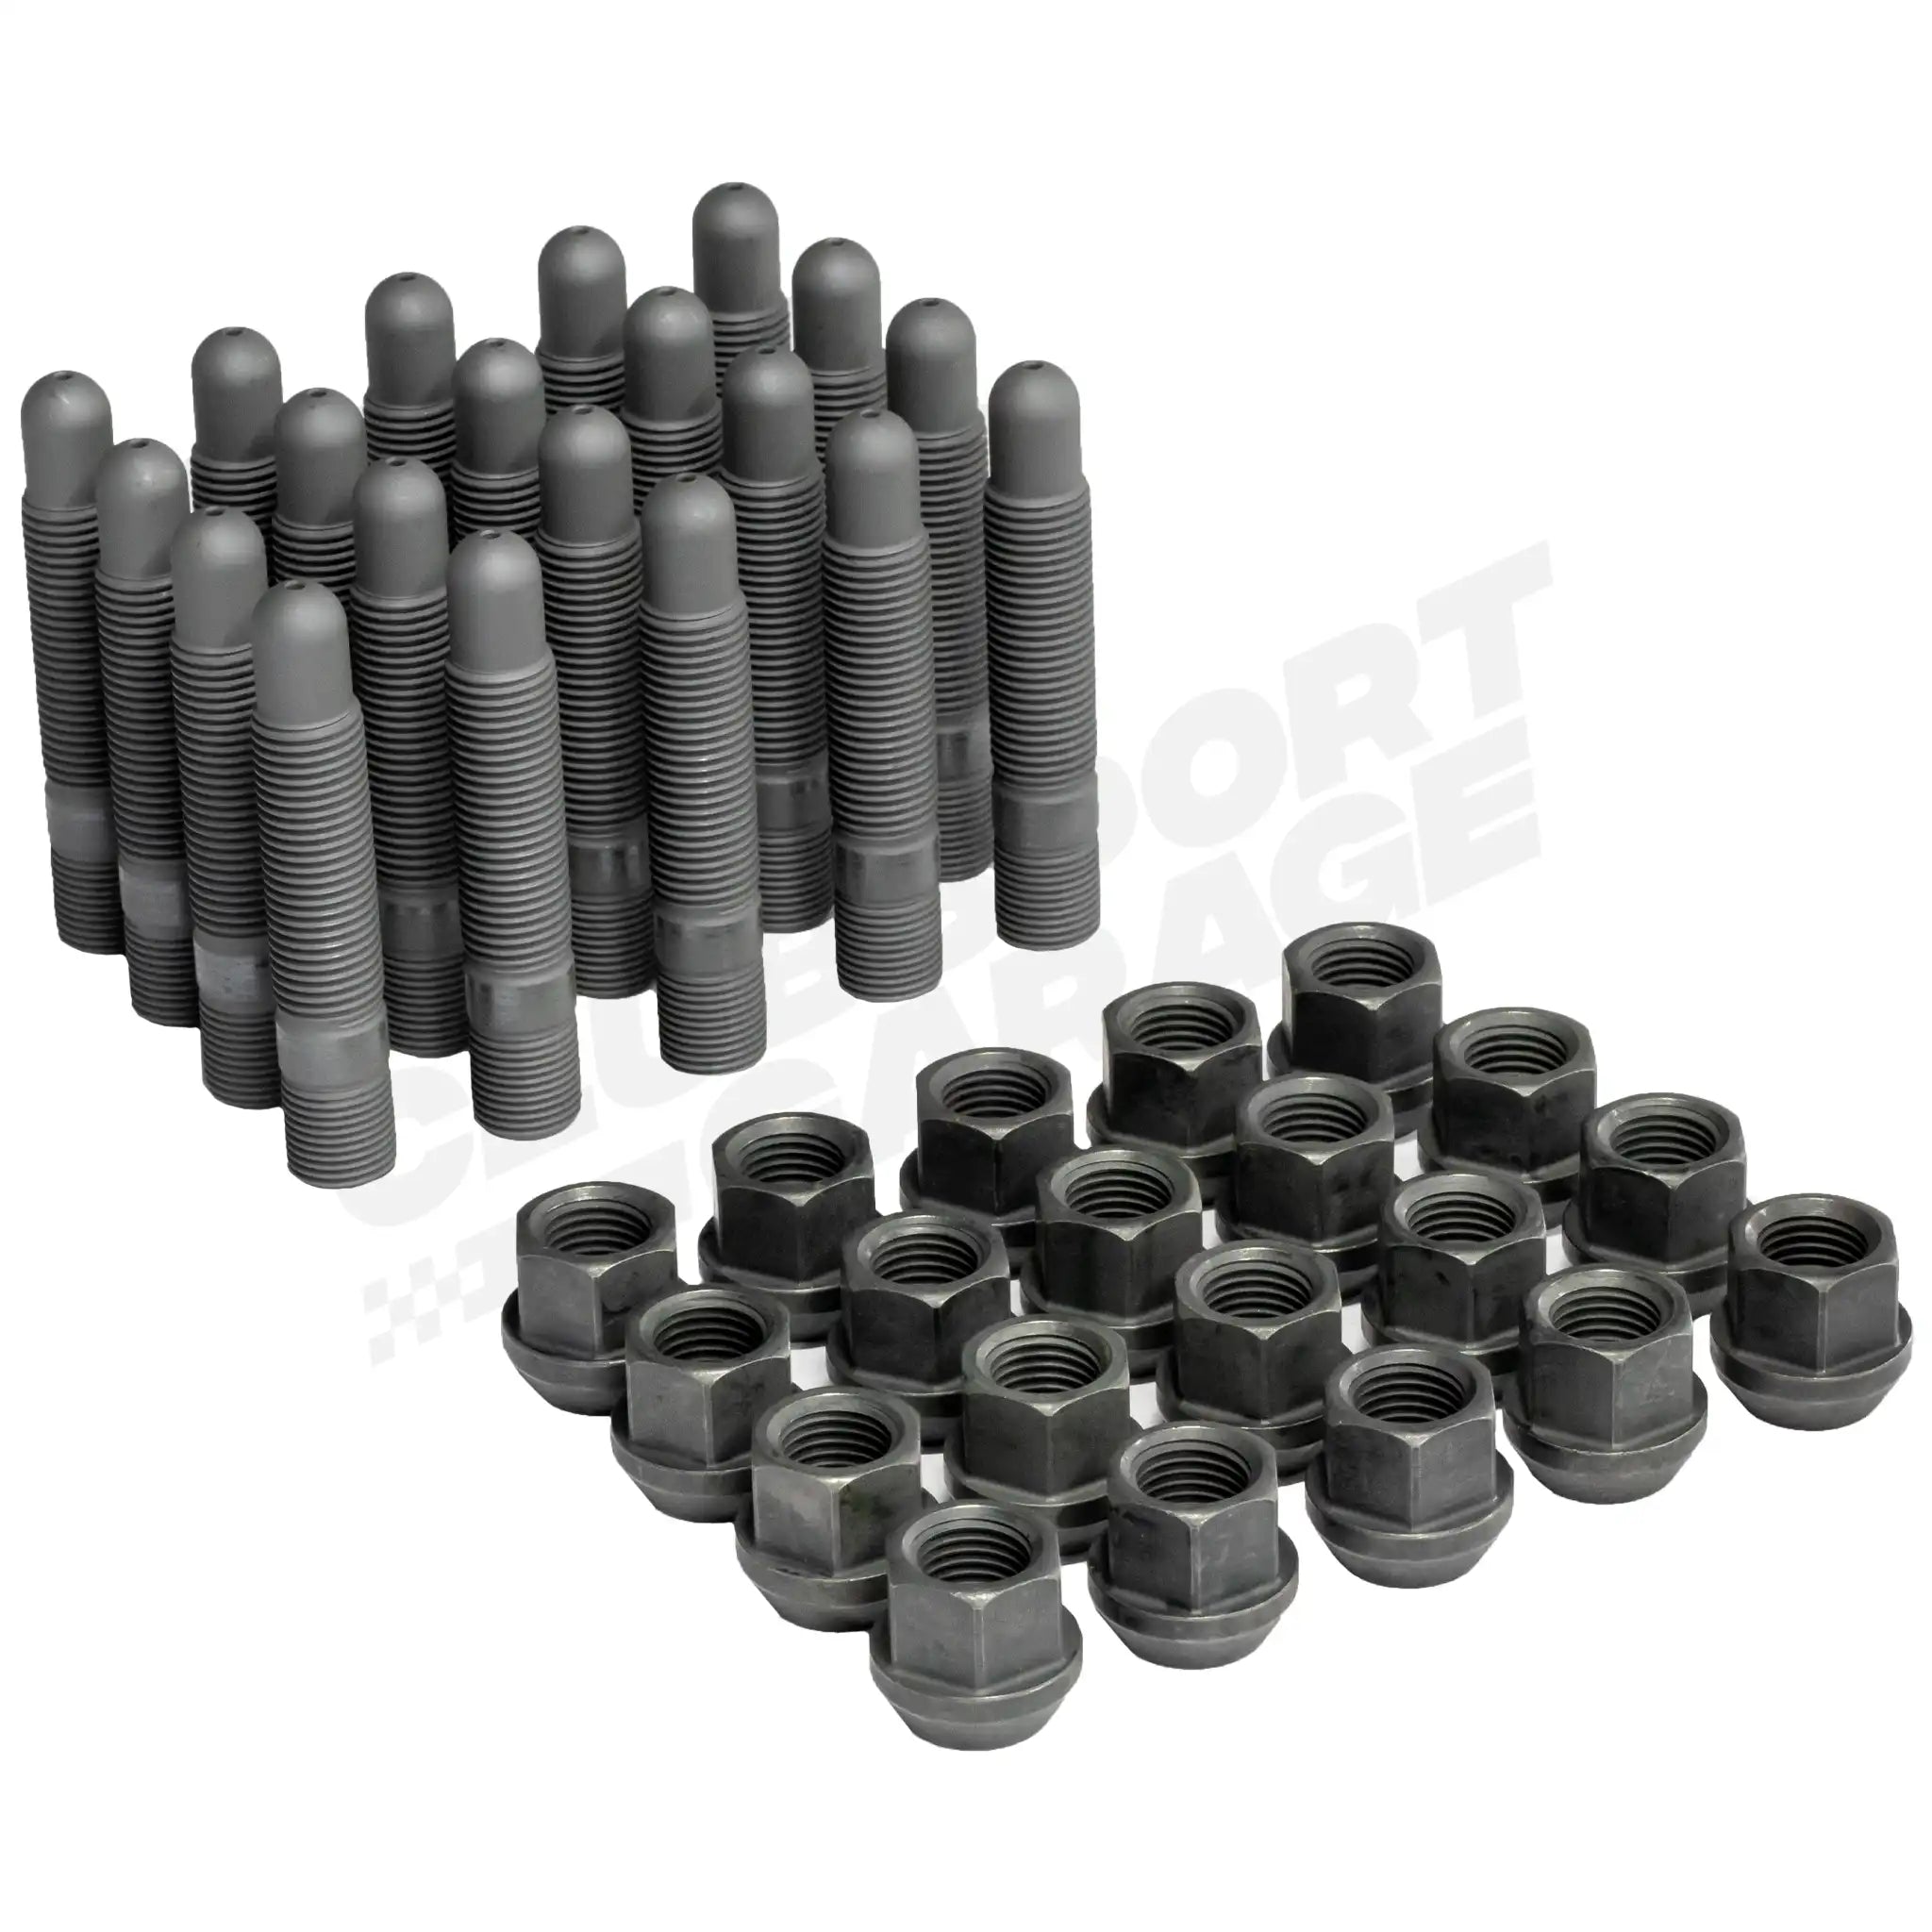
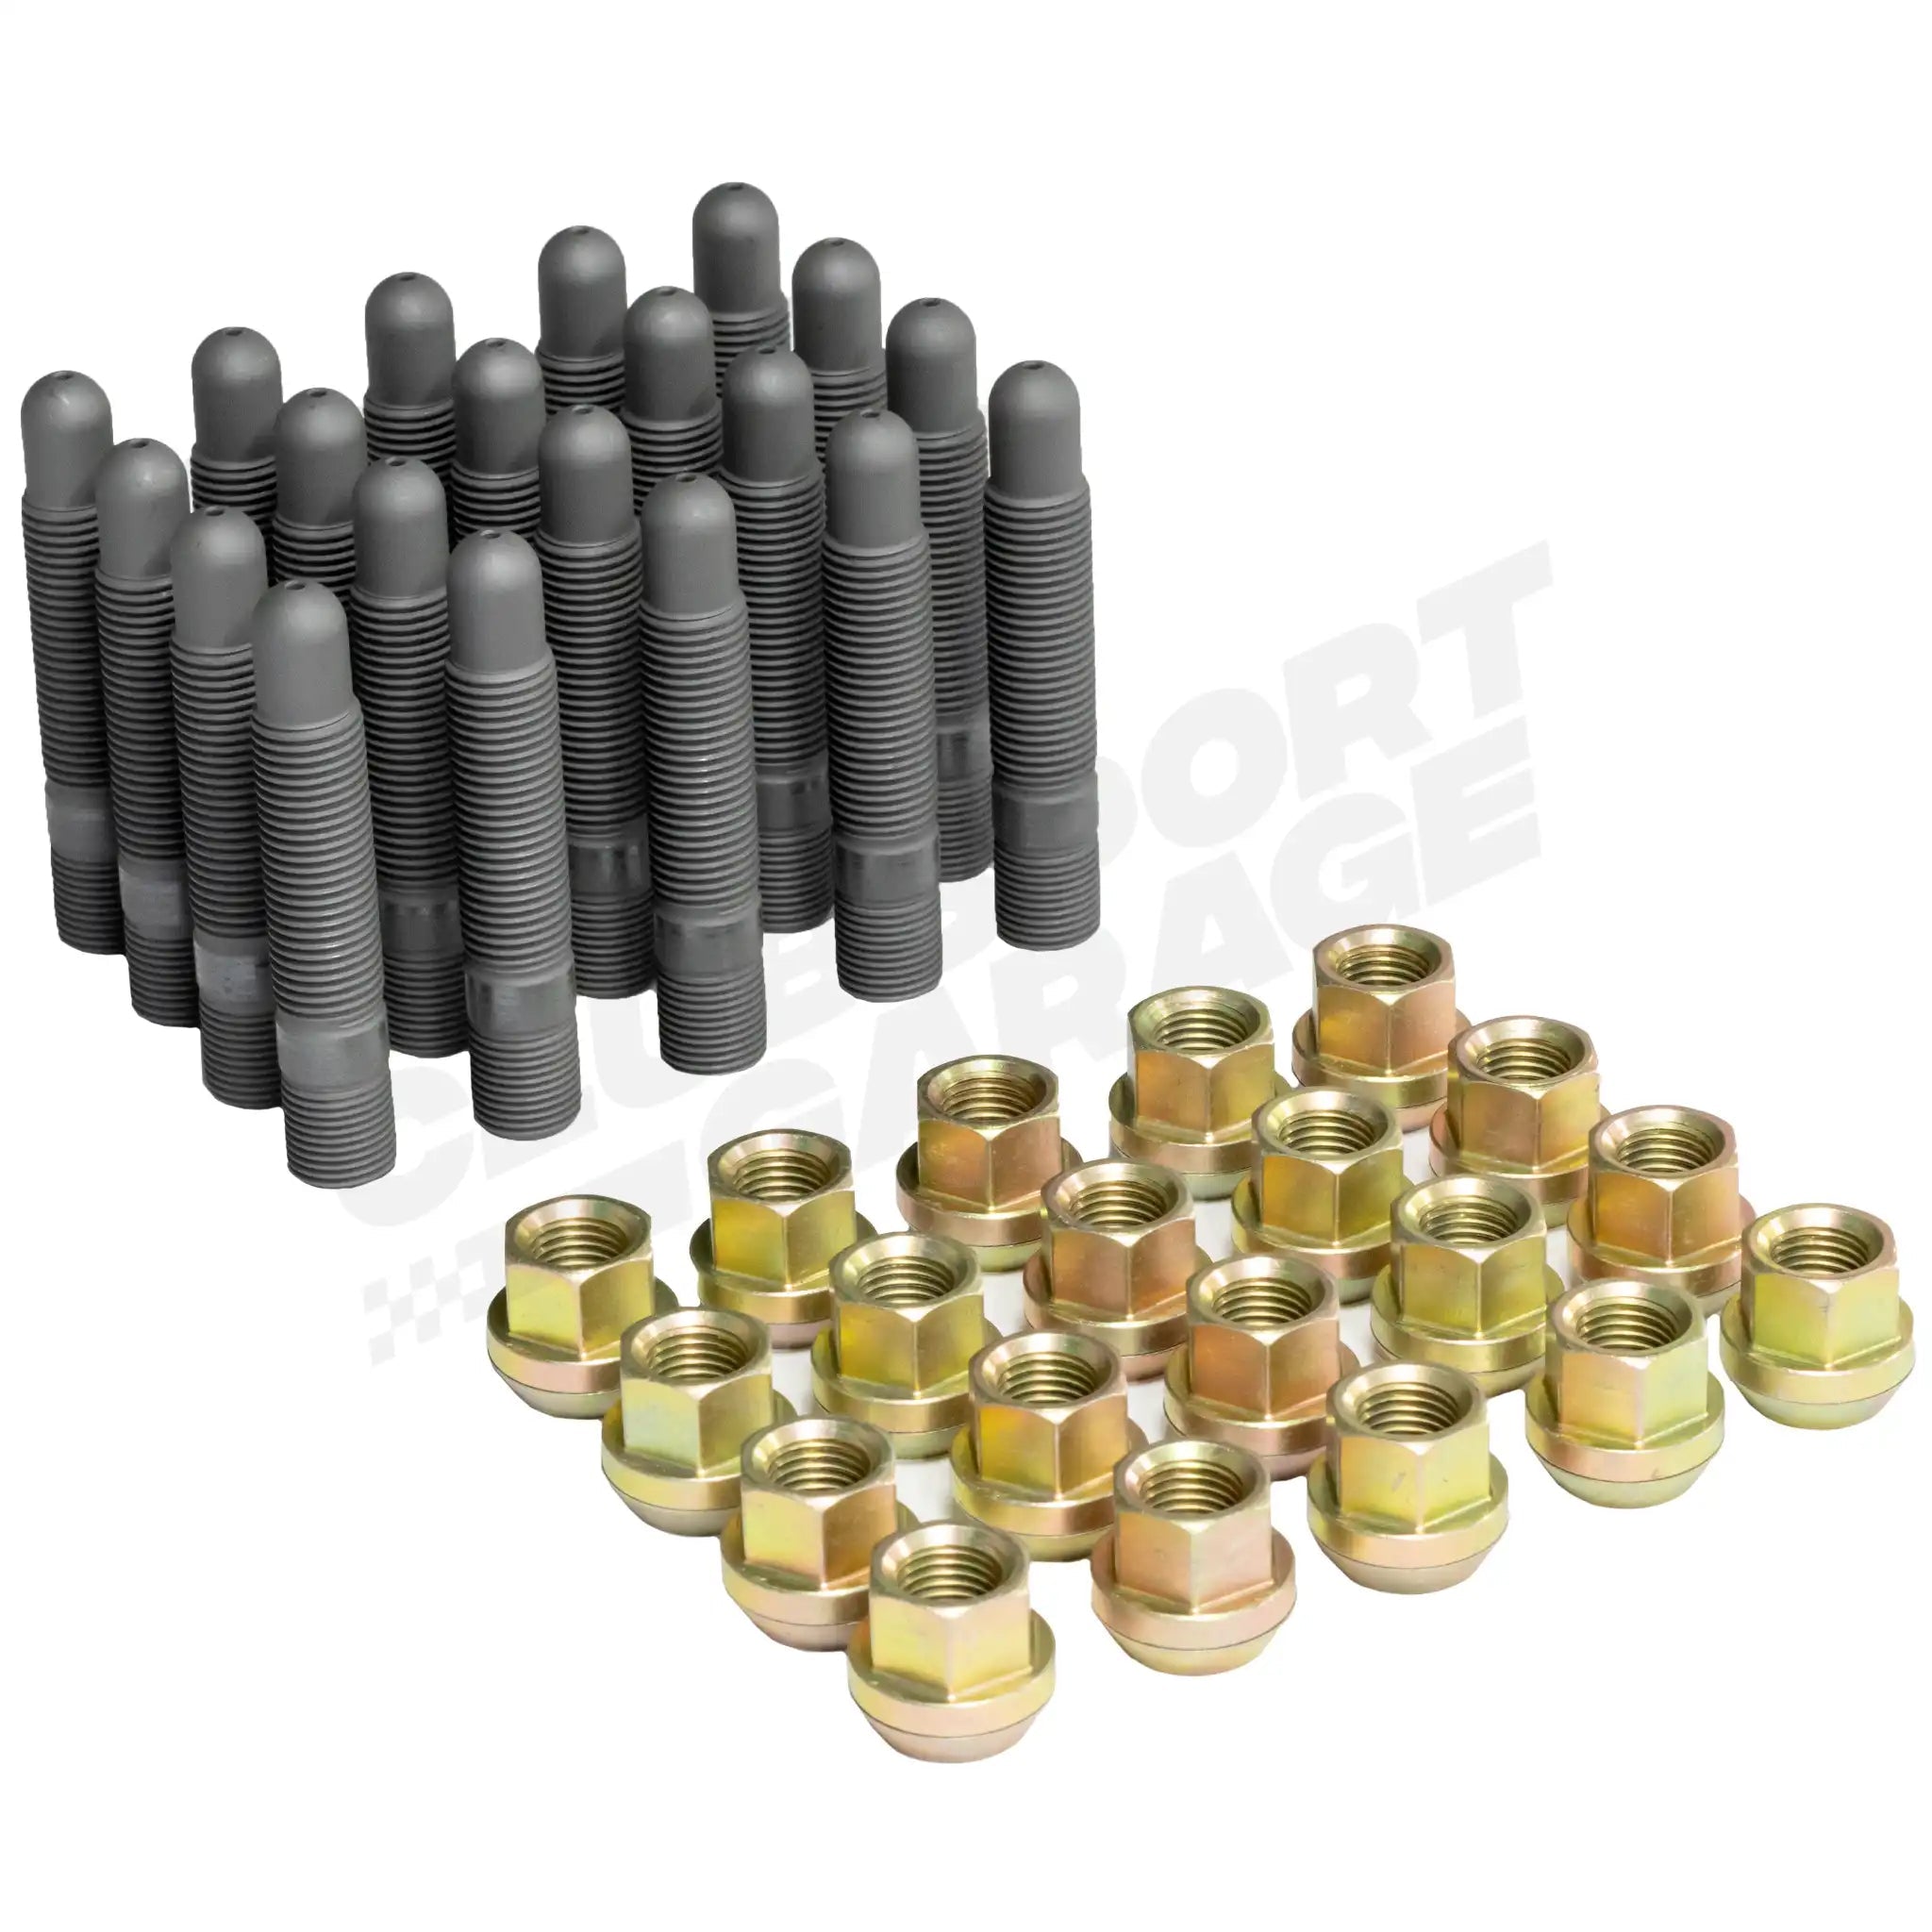
MSI Stud & Nut Conversion Kit F Series BMW
A crucial choice for drivers looking for easier wheel installation and aesthetics. As well as who run aftermarket wheels and/or spacers and want to ensure correct installation, in addition to the security of their wheels.
Suitable for F Series BMW's, nuts also available in a high-visibility yellow or zinc finish.

Equipped and Proven is NASCAR
MSI's Stud and Nut Conversion has consistently proven to be the quickest way off the pit road. MSI's product line has evolved as a result of direct input from many of NASCAR's leading teams. Understanding the needs of the NASCAR community and offering flexibility are what set MSI apart from other manufacturers.
In addition to its proven NASCAR product line, MSI Racing Products has been producing Metric Styled wheel studs to meet the ever-growing needs of sports car racing and aftermarket wheels. MSI's products are currently being used in IMSA, World Challenge, SCCA, NASA, and other forms of professional and club racing.

Safety & Security
When a spacer or aftermarket wheel is fitted, you are often reducing the amount of thread engagement to sufficiently secure the wheel on the vehicle.
Aftermarket wheels can often have more material on the mounting surface, which increases the length of studs/ bolts needed to secure them.
Alternatively when using a spacer, your wheel is no longer seated on the hub of the brake disc, but instead on the spacer, shortening the amount of thread engagement and again increasing the length of studs/ bolts needed to secure them.
For example, if you opt for a 15mm spacer, you are reducing the thread engagement by 15mm. It is therefore crucial that you gain back this 15mm length to ensure your wheels are safely secure.

Whilst you can go for longer bolts, opting for The MSI Stud & Nut Conversion Kit is a popular choice to ensure safety. In addition to this, having studs also allow for easier installation of your wheels as each stud acts as a guide when offering on the wheel, so no more rotating your wheels to find the bolt holes!

Fitting Instructions
Professional installation of this product is recommended.
Tools & Consumables
- Thread Chasing Tool (size dependant on your vehicle)
- Penetrating Oil (such as WD-40)
- Brake Cleaner
- Clean Cloths
- Wire Brush
- Thread Lock (such as Permatex 8179)
- Correctly Calibrated Torque Wrench and Suitable Sockets
Installation
Check hub face and threaded holes for any rust or imperfections, clean off all corrosion from hub face/ ring using your wire brush, clean/ chase the threads using brake cleaner, thread chasing tool and penetrating oil. Once the threads have been chased, use brake cleaner and a clean cloth to ensure NO contaminants remain/ brake cleaner runs clear out of the threads.
Apply brake cleaner to each new stud and wipe with a clean cloth. Leave brake cleaner to evaporate (around 1 minute).
To test, manually thread one stud into the hub using the short end of the threads. Verify that the stud does not prematurely bottom out inside the hub. If you have any concerns about this, use a pen or a thin tool to measure the usable depth of the stud hole. Ensure that the depth is not less than the length of the stud you are installing. There may be a portion of a broken wheel bolt or other debris trapped inside. Perform this process for each stud hole.
Run a small amount of thread lock on the tip of the stud and approximately 5mm down the smaller threaded portion of the first stud. Only a small amount of thread lock is required on the section of the stud that will be installed in to the hub. Don't use excess amount.
Hand tighten a stud into the hub. Thread one nut halfway down the stud, ensuring there is room for another nut. Now thread the second nut, butting up against the first nut with the cones facing each other. Use the correct socket to tighten the two nuts together. Now use a torque wrench on the second nut to torque the stud to 32Nm. Perform this process for each stud.
Note the thread lock will take approximately 1 hour to set and 24 hours to fully cure.
Install the wheel, no consumables need to be used. Tighten wheels in a star-pattern (the nut diagonally opposite each time). Lower the vehicle and torque each nut in the star-pattern, to 122Nm. Recheck after 100 miles/ after returning to pits from track.


